While I love all forms of hiking, you can probably tell from the majority of my posts that backpacking truly has my heart! Lately so many people I know are beginning to venture into the backcountry for the first time. After answering countless gear questions (which I absolutely love to do) I thought it might be useful to make a little post to share some of the tips, tricks and hacks that I’ve learned over the years. I am by no means an expert when it comes to this subject, however I hope that by sharing this I can inspire people to take the leap into the world of overnight hiking.
*Disclaimer: All of the advise below is simply from my own personal experiences and knowledge. There really is no right or wrong answer when it comes to choosing your backpacking gear. I decided to provide a few examples for each category but there are so many other options out there so do your research! I also want to include that I have no affiliation any of the brands mentioned!
Gear Basics
1. Backpack
First up you’re going to need to a good backpack to carry all of your gear in. When bag shopping the most important thing to do is try before you buy. You want to make sure a bag fits comfortably on your shoulders and torso area or else you’re going to be in for an uncomfortable backpacking experience.
The other thing to consider is the size of your bag. You may have noticed that a backpack’s size/capacity is indicated by litres (L). For an overnight adventure your probably want to stick close to the 40L-65L range, depending on how much space your other gear takes up. I personally have a 65L bag which I have taken on a few 5-day trips with no issue. I also like to look for a bag with plenty of external straps and pockets so I can also carry gear on the outside (ie. my camp sandals, water bottles, bear spray, etc.)
There are a ton of different brands to choose from. Some of the higher end ones include brands like Gregory, Arcteryx and Osprey. These bags are incredibly well made and comfortable though the price definitely reflects that. If you’re just getting into backpacking, or not really interested in spending $300 on a backpack I totally feel you. My first bag was Woods brand from Canadian Tire before I upgraded to the MEC Flair. Both sit at a lower price point but do the trick!
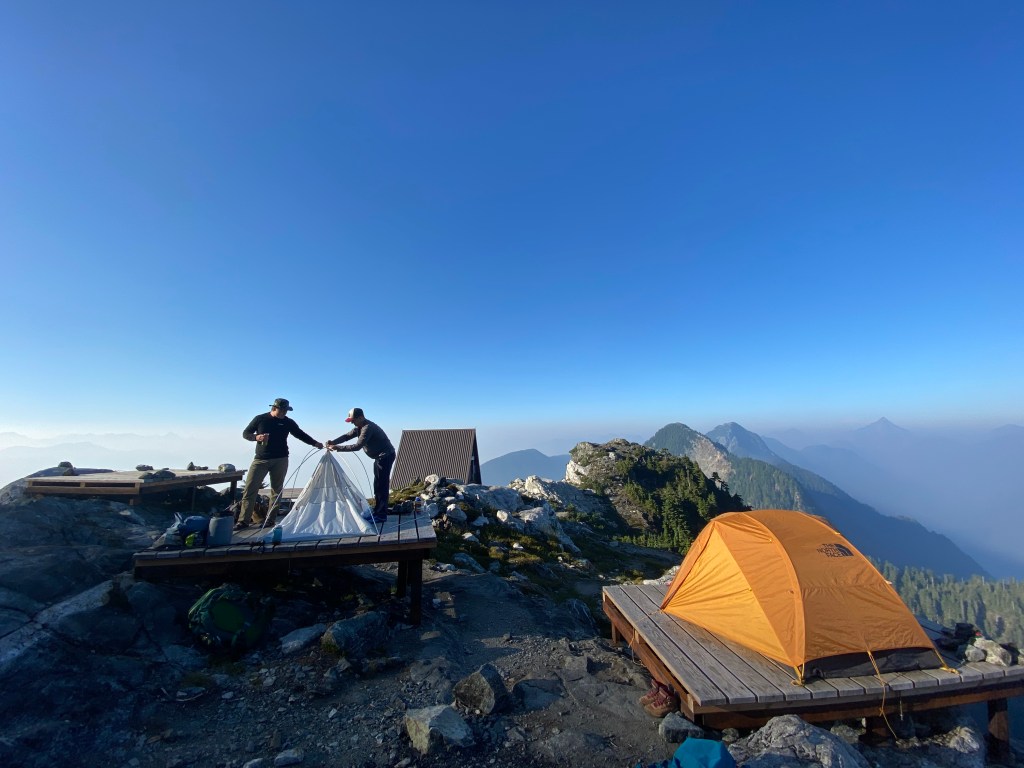
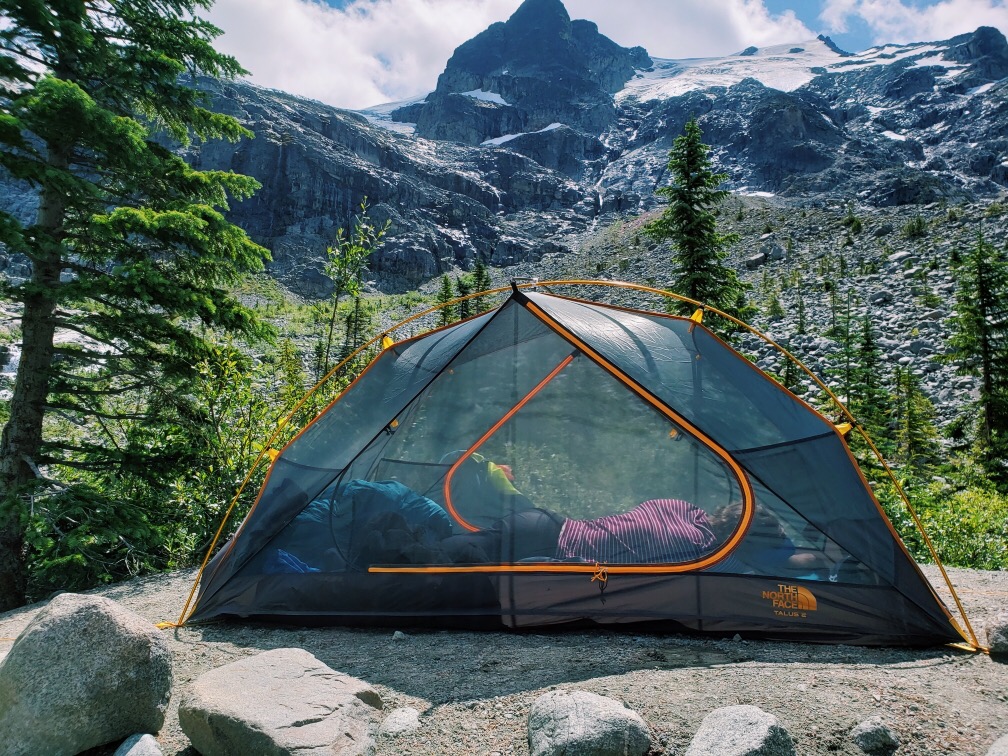
2. Tent
Next up is truly a must have…shelter! While it is most common to go with a tent, some hikers do opt to sleep in hammocks, under tarps or in a bivy sack (essentially a more rugged style sleeping bag typically used for mountaineering). In my personal opinion a tent is the most comfortable and really makes the most sense (especially as a beginner). More experienced hikers or those going on long expeditions may opt for something different but otherwise tents are where it’s at!
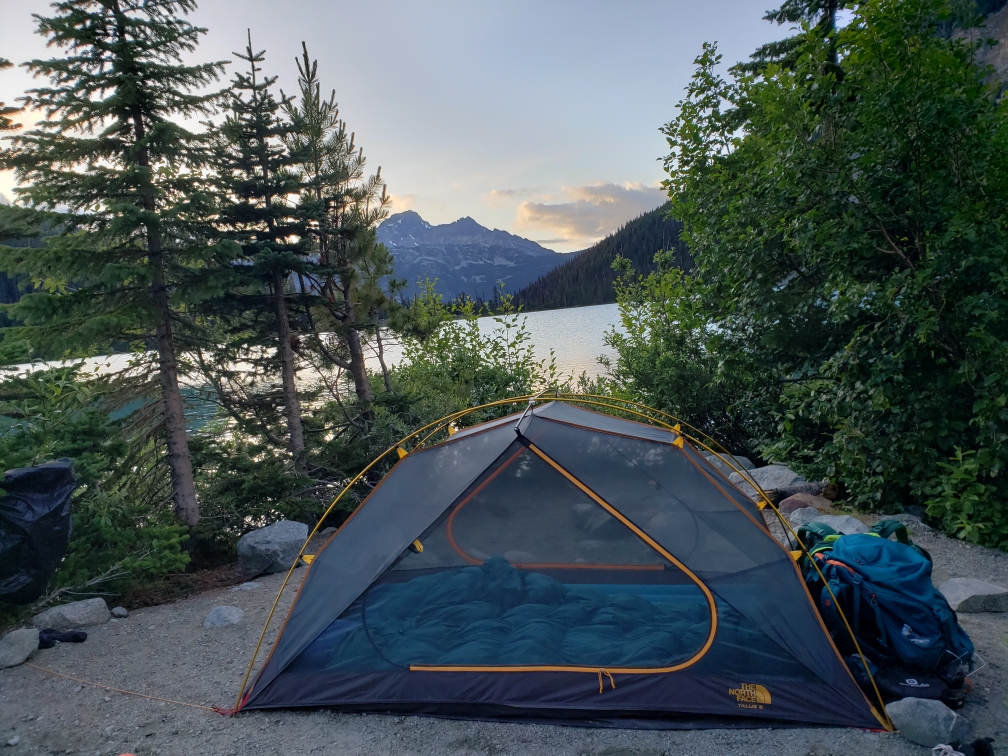
Your tent is likely going to be the most expensive piece of the puzzle, but a worthwhile investment. If treated properly tents will last for a very a long time! When buying a tent take into consideration:
- Occupancy: Do you want a 1, 2, 3 or 4 person tent?
- Weight: I recommend trying to stay under 3kg if possible for a standard 2-person tent.
- Size: Much like women’s clothing, no two tents are the same. It’s important to consider the actual layout/dimensions of the interior to ensure everyone will fit comfortably inside.
- Season: Most tents are 3 season (Spring, Summer, Fall) and may not hold up during the cold/wet winter months (likely not an issue when first starting out).
- Waterproofing: Both the footprint and fly should have a waterproof rating. Usually this is measured in mmH2O and in basic terms refers to how many mm of water could sit on top of the tent before it leaks. For reference my tent is 1500mm (lower end) and has withstood a night of torrential downpour and wind no problem!
- Number of Doors: It might seem silly but you don’t realize the luxury of a 2P tent with 2 doors until it’s 3am and your hiking buddy is crawling overtop of you on the way to the bathroom.
- Vestibules: A fancy way to say storage pockets! These are super useful to stash headlamps, toilet paper, etc. and keep the tent organized. Our tent has one on the roof and each corner and they’re the best.
- Fly & Footprint: Most tents (if not all) come with the fly; this is the waterproof rain cover for the tent. Not all tents come with a footprint which is the more durable, waterproof mat for your tent to sit on. Footprints will help prolong the life of your tent and some companies sell them separately (it is a worthwhile investment if your tent does not already come with it).
3. Sleeping bag
For me, my sleeping bag was one of the trickiest items to buy and I honestly haven’t made the smartest decisions in this category. So many factors can play into this one:
- Material: Down vs Synthetic. Down is lighter and warmer but more expensive and shouldn’t get wet (my bags are synthetic and they work just fine).
- Bag size: Sleeping bags will often come in short, regular or long length. Make sure you pick the bag that corresponds to your height!
- Weight & Packed Size: Ideally the smaller the bag can pack down the better. Of course lighter weight & smaller = more expensive; but you can use a compression sack to help make it more compact.
- Temperature Rating: Will you be hiking close to sea level or in the alpine? Waht time of year will you be hiking? Do you personally run cold or hot when you sleep?
This last point is a bit of a tricky one. There is a huge range when it comes to bag temperature and the lower the temperature the heavier the bag. Pay close attention to the specs of the bag you want to buy. While bags will be rated for a certain degree, this is broken down to a comfort and extreme limit. I would recommend doing some research on the areas you wish to camp and find out the average temperature. Try to choose a bag which is rated slightly lower than expected; it’s better to be too warm than too cold.
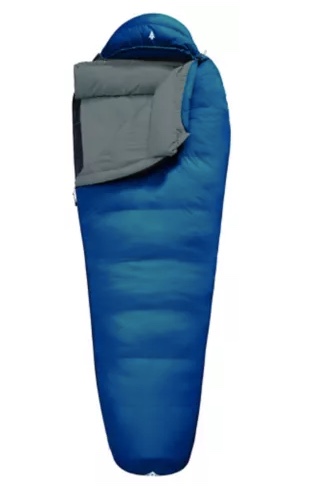
Woods Logan -7°C 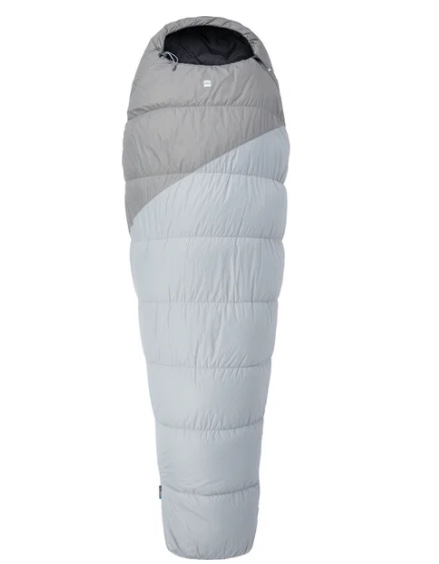
MEC Centaurus +5°C
Personally I own 2 bags (pictures above). My first purchase was the Woods Logan -7°C Sleeping Bag (Canadian Tire) and it has served me well, minus being slightly heavier than I would have liked. For alpine hikes and beginning/end of season it is perfect. Last year I ended up purchasing the MEC Centaurus +5°C for warmer weather hikes and car camping. In all honesty I regret buying a +5°C bag as I have almost always found it too cold on hikes. If you only want to invest in one sleeping bag I would probably suggest aiming for at least 0°C
4. Sleeping Pad
When it come to the style of sleeping pad it’s pretty much a personal preference. The only important thing to consider is the “R Value”. This refers to the amount of insulation the pad offers; aka how well it keeps the cold air from the ground away from your back (it will be specified on the packaging). An R-Value of 1 is minimal and it’s usually recommended to get a pad with a rating of 3-4 for 3-season use.
As far as the style of pad is concerned there are a handful of options. You can choose between folding/roll-up mats, self-inflating pads, or blow-up pads. They all serve the same function but will pack differently:
- Folding style pads (ex. Thermarest Z-Pad) are made from a dense foam and are often very light and thin. They won’t offer as much insulation for colder nights but are a good inexpensive option. They will also likely need to be carried externally since they won’t pack down as well as an inflatable pad.
- Self inflating pads (ex. MEC Reactor 3.8) are going to be a little on the heavier side versus a fully inflatable pad. They consist of a valve which when opens allows the pad to fill with air.
- Inflatable pads (ex. Thermarest NeoAir) are the lightest option and often at the highest price point. You will either need to blow them up manually or purchase an air sack/pump to assist with inflation.
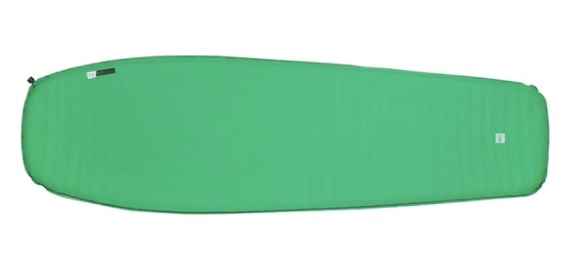
Pictured above it the pad I use, the MEC Reactor 3.8 Women’s pad. I have also used the Klymit Static-V Double pad which my partner and I shared until it started leaking. I personally like my current MEC self-inflating pad more than the Klymit pad. It’s been a lot more durable, plus as a side sleeper I found that for whatever reason blow up pads would wake me up in the middle of the night with terrible hip pain.
Cooking Setup
Before heading out into the backcountry you’re going to need a way to prepare and consume food. In an attempt to avoid writing a novel, I’m just going to focus on a few basic items.
1. Stove
First up of course, you are going to need a stove to boil water and cook food. These come in all shapes and sizes and don’t have to break the bank. While you can spend quite a bit of money on fast-boiling stoves it isn’t really necessary. My first stove was from Canadian Tire – Outbound brand) and I think I paid about $20 for it. While it wasn’t the most efficient model out there it lasted me about 3 years until I accidentally flooded it last summer. I have since upgraded to the MSR PocketRocket which has been fantastic. Other cooking systems such as a JetBoil have a built in pot attachment which allows you to boil water much faster, though they come at a higher price tag.
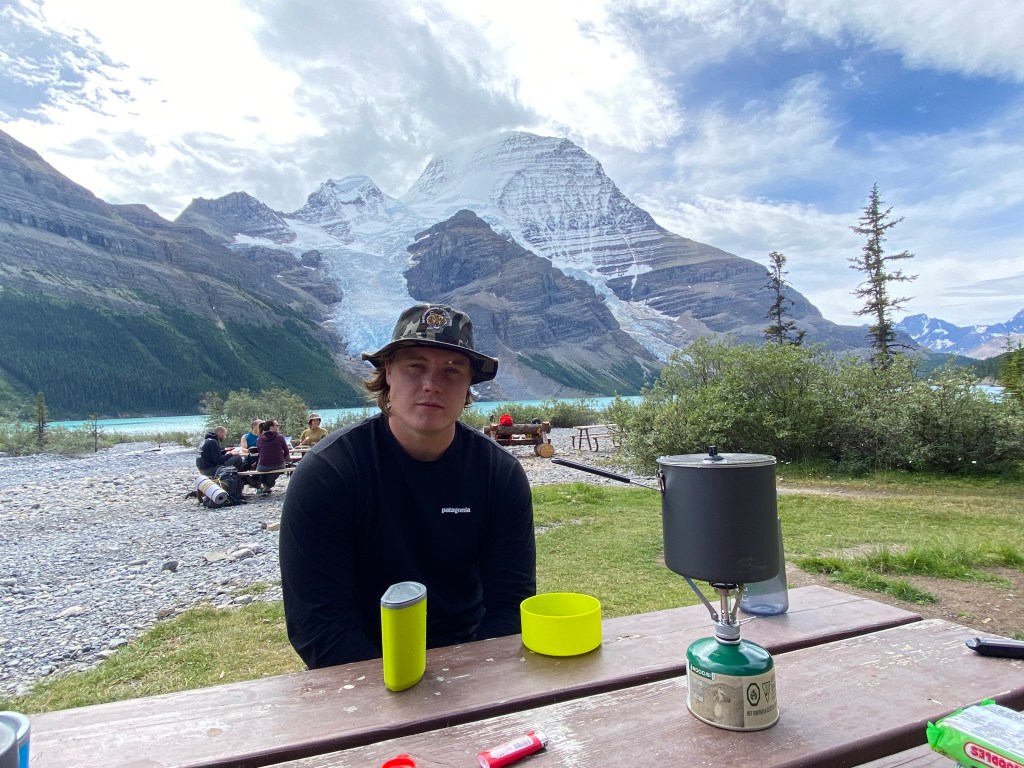
I personally opted for the type of stove I have because I wanted to be able to boil water and also simmer food. If you plan to only eat dehydrated meals then a JetBoil style may make the most sense. But if you’re like me and plan to heat up more than just water it may not be the stove for you.
One last thing to note: Regardless of the type of stove you choose you’re also going to need to buy propane canisters for fuel. Depending on the stove you purchase it will either be liquid or gas (most commonly gas) and they can be purchased at any outdoor store (ie. MEC, Canadian Tire, Valhalla Pure, etc).
2. Dishes/Utensils
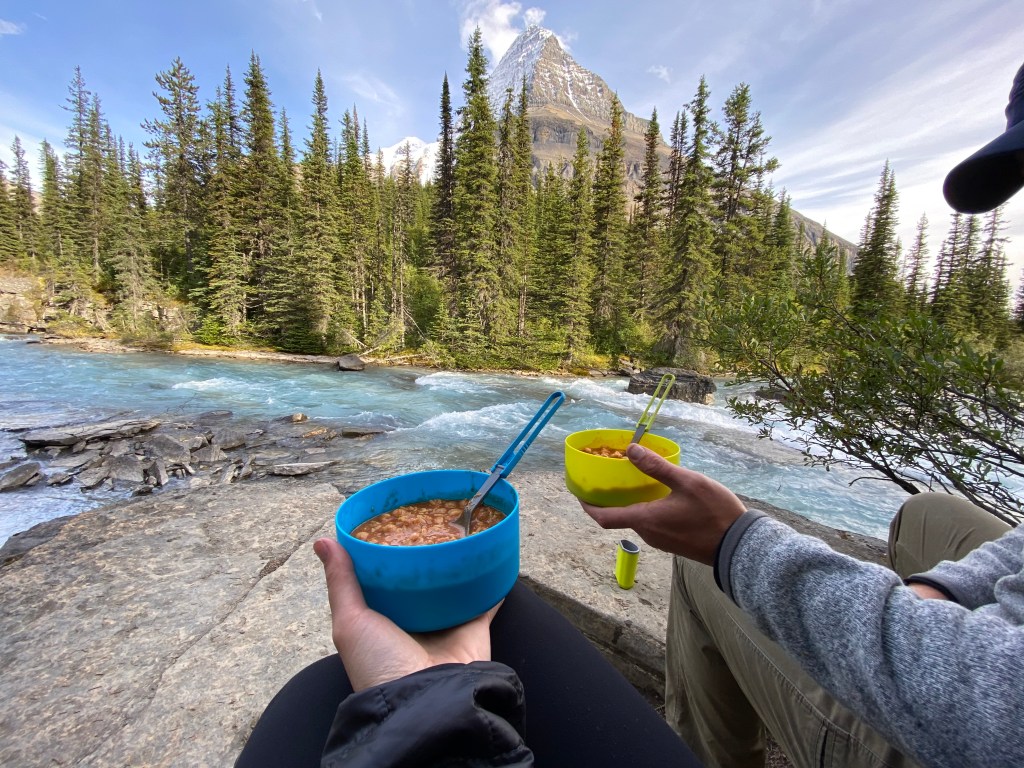
You can go as basic or wild as you want with this one. At the bare minimum you’re going to want a pot to cook with, a cup for coffee/hot cocoa, some sort of bowl to eat out of and a utensil to eat with (personally a spork is my weapon of choice). When I first started out backpacking I picked up a pot set from Canadian Tire, along with a spork and plastic bowl from the dollar store and they worked great! No need to spend tons of money here when you’re starting out.
Recently, I did end up replacing my cheap set-up and splurged on a full MSR cook kit. To be fair this was the at the same time I had to buy the new stove (re: me flooding my old one mid hiking trip) so it wasn’t a necessary upgrade. It was a package deal so along with the new stove came a large pot plus two bowls, cups, and sporks that all pack down into the pot. Obviously very convenient and I do love it!
3. Water Purification
One last important thing to consider is how you will treat or filter water during your trip. If you will be somewhere close to moving water, simply boiling it or adding chlorine tablets can be enough to kill any harmful bacteria. However, for standing water it is highly advised to filter it first to remove any sediment that may be floating around.
For the longest time I just used chlorine tablets which you can purchase at most outdoor or grocery stores. They’re great except they do leave your water with a funny taste (understandably so, but some Mio water flavouring takes care of that problem). Last year I finally bought a Lifestraw filter which attaches to my water bottle. They’re not very expensive (I got mine off of amazon) and definitely a worthwhile purchase. Another similar option is a hand pump device, which simply sits in the water and then the user pumps water up through the filter and into their bottle/pot.
Safety/Final Notes
Obviously there is more to consider than just the aforementioned equipment but I hope this list can help anyone who may have question or is struggling when it comes to choosing what to buy. I also wanted to include a reminder that whether you are day hiking or overnight hiking it is crucial to make a trip plan, let somebody know where you are going and carry the Ten Essentials with you!

https://www.adventuresmart.ca/the-three-ts/#takingtheessentials
I’ve also included a sample packing list that I made. This is only a guideline and should be tailored to your personal needs!
